From the earliest radiographic images to modern-day medical marvels, Xray markers have stood as an indispensable element in the realm of radiology. They function as silent storytellers, etching vital information onto each image, and providing the essential context that helps professionals interpret the data correctly.
Yet, the origins and proper use of these markers often slip into the background, overshadowed by the fascinating images they help create.
In this article, we delve into the fascinating history and function of X-ray markers, illuminating their humble beginnings and their evolution alongside the field of radiology. We’ll demystify the art and science of their correct utilization, weaving in the crucial aspects of their role in maintaining patient safety and the accuracy of diagnoses.
Moreover, we’ll enliven this exploration with practical examples, showcasing real-world applications of X-ray markers, and helping you understand their significance beyond textbooks and theory.
So, whether you’re a medical professional seeking to refine your skills or a curious mind with an interest in medical technology, this comprehensive guide to X-ray markers promises to be a revealing and enriching journey.
Edit: Update on Links
I realized that I linked all the markers at the very bottom of this article and that might be an inconvenience to some visitors since this is a very long article.
I will include the links here at the beginning in case those are specifically what you came here for.
Everything you need in one place:
- Classic elite: They have aluminum backed classic elite markers, with red/blue color coding and custom initials.
- Clip: They have single and double-sided stainless steel clip markers, with and without custom initials and in a variety of styles.
- Wafer-thin: They have a full range of wafer-thin markers, including initialed side markers, side markers with arrows with or without initials, ruler markers, and word markers (can accommodate over 8 characters), though you’ll have to order from their website for the full range of options.
- Copper backed: They have copper backed side markers with and without initials.
- Skin: You can buy skin markers, used for identifying nipples and scars, in a range of styles, shapes, and vibrant designs. The nipple markers also have lead beads ranging from 1.0 to 5.0 mm.
- Mammography set: You can even purchase a complete mammography set with every marker you’ll need, complete with a well organized, wall-mountable marker board with three options for how they’re held in the board.
- Neonatal: They have initialed neonatal side markers.
- Character holder: They have several different sizes of the tray, depending on how much text you need to include, sets of unmounted characters, and character organizers.
- Ruler: They have several to choose from, including a 1.15-meter version, with high-density lead numbers and a plastic body, and smaller initialed side markers with 3 centimeters worth of notches.
- Time: You can get the hour markers (with ¼, ½, 1, 2, 3, 6, 12, 24 and 48 hour marks), minute markers (with 0 through 5, 8, 10, 15, 30 and 45 minutes),and time elapsed markers (with 15, 30, 45 and 60 minutes, as well as 6, 12, 18 and 24 hours).
And no xray marker purchase is complete without RadHesive Maker Tape.
Medical Lead Xray Markers – A Compendium of History
When it comes to xray markers, discussion of anatomical side markers, Pb markers, lead markers, radiographic film markers and lead xray markers all refer to the same simple, but very useful piece of technology.
While they’re not exclusive to medical imaging (also found in forensic, aeronautical, veterinary, and automotive xrays), originally this was their intended purpose.
They generally serve as a way to indicate the left-right orientation of the subject of the xray, as well as other important details, such as body position, time of procedure and the initials of the radiographer performing the xray.
Origins of the lead xray markers
Radiopaque markers found their use across fields like dentistry and facial reconstruction before the patent of the first lead markers in 1998, which indicated anatomical orientation.
Radiopaque metal pieces, taped to patients as impromptu markers, initially highlighted specific anatomical features.
Inventing these lead and plastic pieces for compatibility with existing X-ray technology, Dr. Donald R. Jacobson from the Medical College of Wisconsin facilitated the incorporation of clear, precise, and diagnostically relevant information into images.
This innovation allowed radiographers to insert letters, numbers, and symbols into X-rays during the image-taking process, rather than adding them after exposure.
This enhancement guaranteed added information’s authenticity and immunity from post-capture modifications.
While this has a lot of benefits from a medical perspective, this was especially significant from a legal perspective, and their use has become standard practice among radiographers around the world.

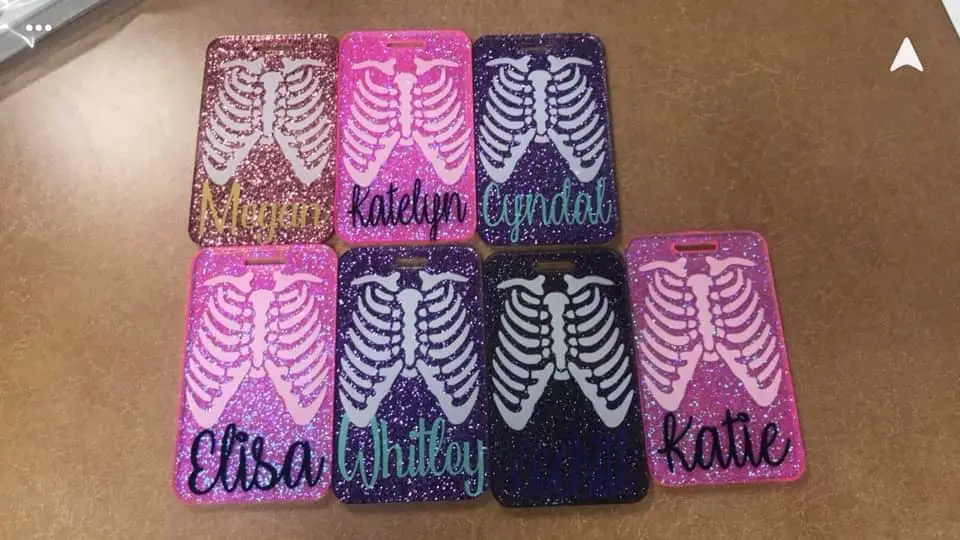
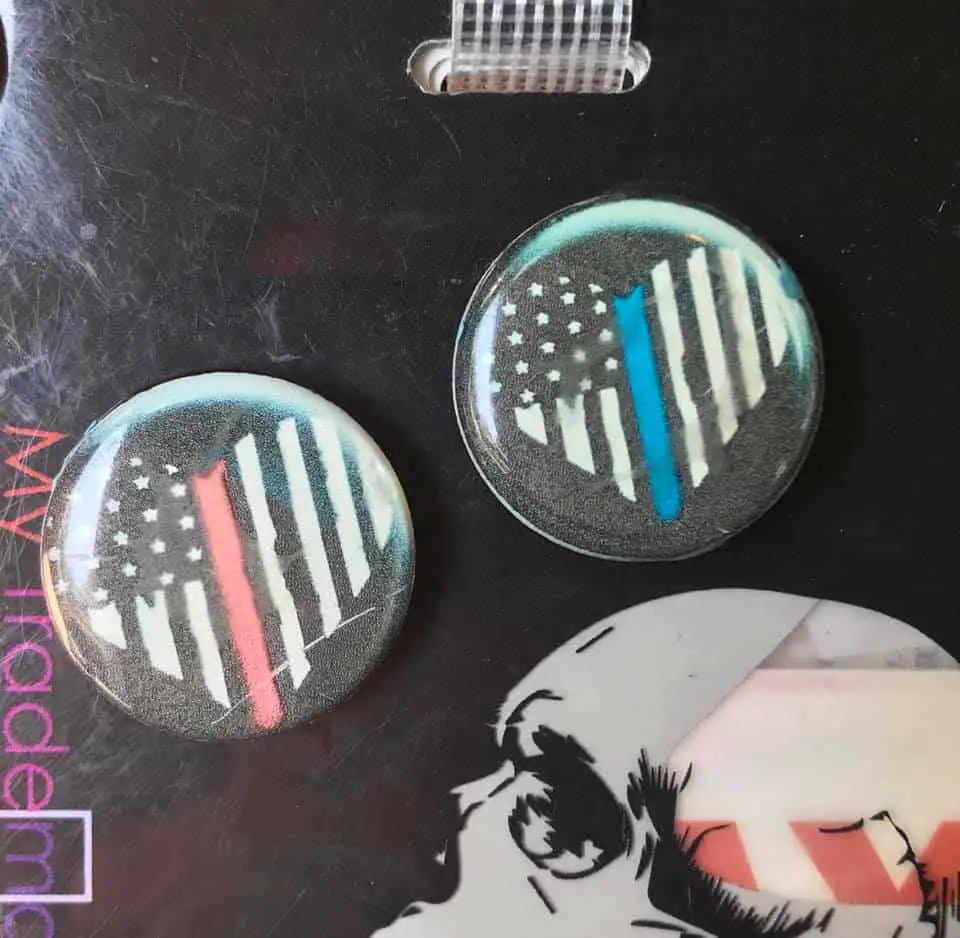
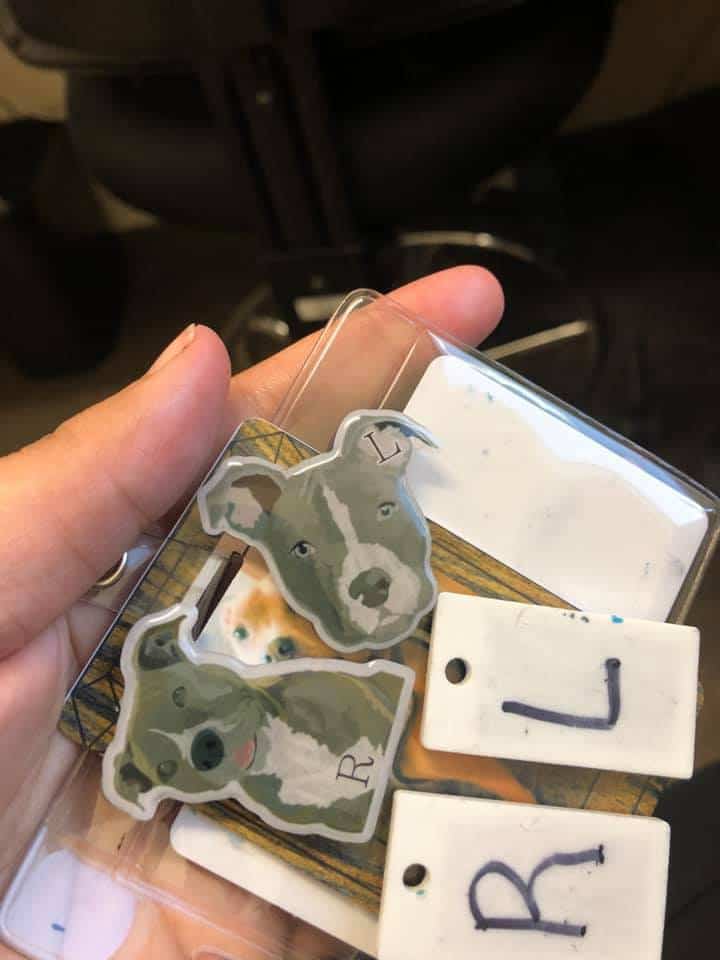
Currently, there are numerous companies that manufacture various types of medical markers, and some particularly crafty individuals have even figured out how to make them at home with materials bought online or at DIY shops.
Though factory-made markers boast high-quality materials and craftsmanship, many individuals have opted for DIY markers to lend a personal touch.
Early years of the lead xray markers
At first, the lead xray marker was something of a curiosity. While some adopted the tool and incorporated it into their work, it was too new to have a set of best practices that the industry at large could agree upon.
Additionally, the original markers were very simple, just the L and R markers. Over the years, people would eventually come up with ideas as they saw deficits in what they could do with the simple anatomical side markers.
One of the earliest innovations came from dental xrays. They realized that a small mouthpiece with a radiopaque bead suspended in the middle of the mouth would allow them to properly orient images of the teeth and jaw from multiple angles.
3D X-ray’s early days saw manual involvement by radiographers or doctors, often interpreting multiple X-rays from various angles instead of one composite image.
Plastic surgeons soon adopted this innovation for a holistic view of the skull and face, improving their understanding of the structures they were treating.
Radiopaque beads, small and easy to manufacture, underwent innovation too. They added disposable adhesive plastic strips that could attach to skin features, preventing confusing shadows in X-rays.
Such markers now primarily help mark nipples during mammograms, but they also label scars and other surface features to streamline diagnostic procedures.
With time, X-ray markers evolved to incorporate more detailed and useful information, improving readability, ensuring correct identification, and even qualifying as legal documents due to their detail, reliability, and specificity.
Prior to the inclusion of anatomical side, name, date and other kinds of markers, the information within the xrays was really only apparent to trained professionals.
Due to the esoteric and highly specific nature of many disciplines of medicine, it was hard to know for a fact that an xray contained exactly what someone said it did, and there was no way to truly fact check them.
By incorporating side markers and other detailed indicators, X-rays could meet the standards required to qualify as complete legal documents.
The modern era of the lead xray markers
Despite the continuing growth and innovation with xray markers throughout the late ’90s and ’00s, they still didn’t have total, large scale adoption.
In less affluent countries where acquiring such equipment was challenging or viewing as an excessive expense increasing costs, or in facilities with more relaxed quality standards. These X-ray markers didn’t consider as legally necessary.
Many hospitals also didn’t have any policy regarding xray markers.
However, as radiography schools began instructing students on their use, general best practices and their benefits, adoption grew.
Today, many hospitals actually require that their technologists use anatomical side markers, at the very least.
In some cases, the policy will dictate they include patient information and other diagnostic markers as well.
Add to that the legal and medical advantages and more and more facilities are beginning to implement policies regarding their usage.
Then there are the medical and radiography organizations, like the Center for Disease Control (CDC), the Society of Radiographers (SoR), the US Department of Health (DOH) and more all coming out with documentation about their use and stating outright that they are an absolute must.
This has gone a long way towards making the use of xray markers an industry-standard across the world.
Several governments and numerous regulatory bodies have begun crafting legislation that either strongly encourages or even outright requires the inclusion of xray markers.
This does not, however, mean that their use is a universally standardized practice among radiographers.
A 2016 study sampled 500 xrays out of 234,105 taken throughout Malta over the course of a 5-year period and found that only 25.6% (110) used pre-exposure xray markers while 74.4% (320) used post-exposure markers.
14% showed no signs of makers at all. When they surveyed the radiographers sampled, only 15.4% actually preferred using pre-exposure markers. 76.6% found placing the pre-exposure markers to be time-consuming and only 60.5% were able to give the correct answers when asked about the proper use of markers.
While this is not a definitive study of the implementation of xray markers among radiographers around the world, it does provide insight into the current state of their adoption.
How to make your own xray markers
Thanks to the wonders of internet shopping, and the rise of DIY culture, the materials you need to make your own xray markers are fairly easy to find.
What you’ll need:
- Silicon molds
- Plastic polymer
- Lead letters
You can get just about any silicon molds, but the ones meant for candy or chocolates are the best since you can find them in very simple designs with minimal shaping or flourish.
You need ones that are large enough to your letters with a small margin around the sides.
Also make sure they’re fairly plain, with no embossing or fancy shaping, since that can make it hard to lay them evenly on the cassette.
If these are all too hard to come by, or you want to get fancy with your markers, you can actually use the flat 2 by 4 lego pieces, as they’re about the right dimensions for a typical marker, and the underside is largely hollow with enough space for a large L or R, and two smaller initials.
If you’d rather be more professional, look into xray marker specific molds. You can often find them in pairs, one red for right and one blue for left.
It’s genuinely exciting that these molds are created for those who aim to produce their own X-ray markers at home, but still seek a professional aesthetic, maybe with a unique personal flair.
In these scenarios, the molds are single-use. You simply need to insert your letters, fill the plastic, and you’re all set.
Once you have your mold picked out, you’ll need liquid plastic polymer so you can pour it into the mold.
A lot of people use this stuff for arts and crafts, so you should be able to find this fairly easy online or at any crafts or woodworking shop.
The key here is that the material is clear and radiolucent so that only the letters appear on xrays.
If you’re having a hard time finding plastic polymer, you can also use acrylic. The key is that it has to be radiolucent, and fortunately most plastics are inherently radiolucent thanks to the absence of elements that might block radiation.
Lastly and most importantly are your letters. You can easily purchase these online, though some regions may label lead as a hazardous material requiring pricier packaging, creating shipping challenges.
Make sure to check if that’s necessary wherever you live. Some states in the US, as well as a few countries, have these kinds of rules about shipping lead, so look that up ahead of time.
If you’re not sure about where to get lead letters, you can use any radiopaque metal, such as aluminum, stainless steel or titanium, though lead is the most commonly used material.
Whatever the case, once you have this last piece, you’re ready to make your markers.
- Find yourself a nice, level working space and lay out some mats, since you don’t want the liquid plastic to get on your things and harden.
- Lay out your mold(s).
- Pour in a small amount to each mold, so there is a layer about 1/16” (1-2 mm) deep.
- Place your letters. You can use some toothpicks or tweezers to ensure they’re properly oriented.
- Pour in the rest of the plastic to fill the mold.
- You can add other radiolucent decorations like glitter or coloring if you like during this step.
- Put the molds somewhere safe
- After about 8 hours, they’ll be safe to touch, but they won’t really completely harden for 24 hours. They’ll take about 72 hours to fully cure.
That should do it for your standard L/R/M markers, but if you want the more specific markers, it may be worth it to just invest in a set from the more serious manufacturers or check out etsy for more stylish options.
The Importance of xray Markers
Whether or not you were trained in the use of xray markers during radiographer school, markers are quickly becoming standard practice during xrays. They serve a

number of key functions and can reduce errors and liabilities for both radiographers and doctors alike.
Medical matters
Aside from simply being thorough, xray markers have a lot of niche uses in diagnosing patients.
From unusual anatomical anomalies like Dextrocardia to the really rare ones, like situs inversus, simply marking the orientation of the patient’s body can make it much easier to diagnose these conditions.
Dextrocardia (where the heart is on the right side of the body) and situs inversus (where left-right organ orientation swap), can cause issues with the intestines, heart, lungs and sinus.
They’re easy to miss since their complications don’t necessarily require you to look at the positioning of their organs.
The anomalies these disorders cause can make it harder to reach an accurate diagnosis with other diseases, as they muddle the list of symptoms with things that may or may not be related.
Aside from that niche case, being able to know left from right at a glance can simplify the reading of the xrays themselves, by doctors.
By clearly marking anatomical orientation, it does more than save a few seconds of trying to make heads or tails of the xray, it makes it easier to orient it properly for reading, and can generally prevent small mistakes that lead to bigger ones down the line.
From a legal standpoint, even when marking xrays of other parts of the body, the point is to eliminate uncertainty and clarify the exact orientation of the patient’s body.
In a court of law, a lack of certainty can be damaging, and medical cases are often high stakes since they regularly affect someone’s ability to earn a living or their overall quality of life. More on that later.
Patient Position Marking for Accuracy
Standing vs Supine
As it pertains to xray marking, the main difference between the standing and supine marking methods is the number and types of markers you’ll need.
When performing a supine chest xray, regardless of whether AP or PA, you may need to include things like the Patient ID number and date in addition to left and right markers.
Considering that these markers included in the area of the primary beam. But also not overlap with any part of the patient’s anatomy, you can use any typical markers you have for most normal xrays.
However, when performing standing xrays of the chest, the area of the primary beam tends to be smaller due to the fact that the xray machines for standing xrays tend to be smaller as well.
Some standing xray machines tend to have less clearance, and you may need to have a set of clips or wafer-thin markers for these.
In scenarios where standing is too strenuous or impossible, you’ll likely have no choice but to undergo supine X-rays of the chest and pelvis.
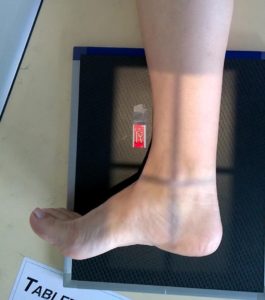
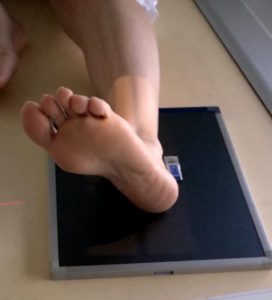
Weight-bearing
Physicians often order weight-bearing X-rays of the knees to observe how the patient’s body weight affects the knee bones.
In these cases, they’ll often do them from the side, in which case you might also need a weight-bearing tag, usually with lettering that reads “WT BEAR”.
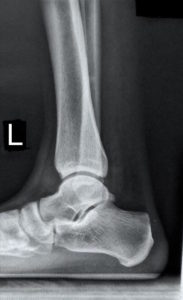
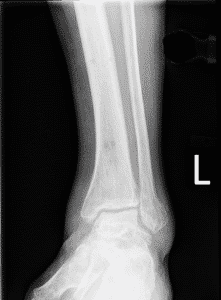
When conducting these X-rays, radiographers typically include an ‘L’ or ‘R’ tag to signify the left or right limb.
Some radiographers have special markers with L and R, but with an arrow pointing towards the limb to further remove uncertainty from the image.
Prone
‘Just like weight-bearing markers, radiographers use ‘L’ and ‘R’ markers with a tiny arrow to identify the limb being depicted.
Alternatively, when imaging the wrists and hands, both the L and R markers can be useful to indicate patient orientation.
That will make it easy to discern which limb shows most xrays of the hands and wrists are done palms down.
When imaging the knees in the prone position, side markers are especially important due to the specific positioning of the knee.
This can clarify whether the image is AP or PA, an important distinction for lawyers and laymen viewing the xrays.
Lateral decubitus
In these cases, you’ll likely also need a marker indicating “horizontal beam decubitus”, as most radiological organizations believe this marker should always be present.
You will also have to include a marker indicating the side of interest. If their right side is up, include an R marker, L for their left side.
This, again, is for the purposes of clarity and to ensure the doctor also has the front side of the image facing out.
Date markers
These are of vital importance. In most fields of medicine, medical records with properly dated xrays can help accurately track the progression of many diseases.
Most textbooks and radiography organizations heavily stress the importance of properly dating your xrays, ideally pre-exposure.
When adding in the date, if there’s room, it’s best to use the first three letters of the month, then numbers for the day and year.
Additionally, for added legibility, put the day first, then the month (in letters) then the year, to avoid confusion with the numbering.
It’s up to you if you put all four digits of the year since medical records can span decades and be used in studies for long after the subject is gone.
Legal matters
While their value to diagnosticians is obvious, medical markers are also useful to lawyers as well.
If a patient wishes to take legal action against your facility, your xrays can become evidence in the case.
Having documentation built into the xrays that cannot be doctored or misconstrued can be essential in settling or dismissing frivolous cases.
More importantly, if your markers are not clearly visible and legible, a court of law will not consider your xray to be legally admissible.
While the L and R of the markers are absolutely essential, your initials are not, so don’t worry if your markers don’t have them.
Digital xray markers
Many medical imaging facilities are upgrading to digital xrays. This can present a number of advantages, but the marking of xrays is not one of them.
Due to the fact that you are technically adding the markers after the xray has already been taken, xrays with digitally added side markers are not valid medico-legal documents.
Because of this, do not rely on the built-in software, but instead, continue to use physical markers.
They cannot be added or modified after the fact and need to be integrated directly into the xray as an object on the image.
One thing to remember when it comes to markers for digital xrays is that some of them have less clearance in the bucky, so keep the clearance of the xray machines you typically use when shopping for xray markers. You can read more about this later on.
Proper use of markers
There is only one type of xray that has rules for placement of xray markers set in stone, that’s for mammograms.
But aside from that there are more general best practices when xraying other parts of the body.
General marker placement
In the case of every kind of marker you place, there is a basic set of guidelines that all radiographers should follow to ensure a basic standard of quality and legibility of their xray markers.
All xrays should include markers to indicate the left and right sides of the patient.
They should be oriented normally (read from left to right), regardless of whether the patient is oriented Anteroposterior (AP) or Posteroanterior (PA).
This will minimize confusion. While optional, a best practice is to position the left and right anatomical side markers in their appropriate upper corners (top left for the left, top right for the right).
If this is not possible due to patient anatomy obscuring those regions of the xray, then placing them somewhere else in the frame would be better.
These markers, at the very least, are required for medicolegal purposes.
The marker should never obscure any part of the patient’s anatomy. This can interfere with the medicolegal validity of the xrays, possibly with the medical assessment of the image.
All identifying information should be clearly legible and not overlap with any other markers.
It is also absolutely essential that you double-check to make sure that patient information is accurate since xrays with incorrect information will need to be redone with the correct information.
Markers should be placed along the edge of the primary beam/collimation border. This is generally the ideal placement for markers since it has the least chance of interfering with the primary image, as the subject of the xray should be centered in the frame.
In cases with especially tight framing on small portions of the body, you should use the standard markers instead of clip markers, as they may not be able to reach the area of the beam.
Markers should never overlap with any lead shielding. This will make the markers harder to read and may even obscure them completely.
These criteria should be sufficient for most types of xrays. Below I will indicate specific types of xrays that may require different marking conventions.
Chest and upper airways
While marking these xrays is mostly routine, in some cases, the nipples may be visible in the image and overlap with features inside of the chest.
Particularly with xrays examining the lungs, the frame of the xray would be quite large, and smaller nipple markers may be hard to see.
As a result, it’s a good idea to use the ones with larger 2-3mm pellets.
Skull
When performing xrays on the patient’s skull, there are a wide range of angles at which you position the beam source, as well as the head of the patient.
In these cases, you should indicate both. Also, due to the small size of the image subject in comparison to the frame, you should avoid using clip markers, since they will be left out of the area of the primary beam, and instead use standard markers.
Fronto-occipital/Occipito-frontal:
Radiographers may take FO/OF X-rays from different angles. In such instances, they should mark the X-ray with “FO” followed by the beam angle in degrees.
They should also include an upward arrow (↑) for cranial angulation, when the beam points up towards the head from below, or a downward arrow (↓) for caudal angulation, when it angles downward from above the patient’s skull.
So, an OF X-ray taken at a 45° downward angle should be marked as “OF 45° ↓”.
Lateral:
For lateral xrays of the skull, the marker should indicate the side of the skull that is against the image receptor.
When the beam penetrates the patient’s right side and exits through the left side onto the film, it is a Right Lateral. The radiographer should mark it as “R Lateral” or “R Lat”.
When taking an angled image, like the Fronto-occipital, the radiographer needs to mark the degree of the angle, and whether the beam is angled downwards from above the head, or upwards from below.
So, when executing a left lateral X-ray with 30° caudal angulation, it should be marked as “L Lat 30° ↓”.
Complex oblique angles:
When performing more complex angling of the patient’s head, there are slightly different marking conventions.
First, you have the angle at which the patient’s head is turned and the side of the head that is closest to the film (i.e. “45°L” if the left side of the head is closest to the film and at a 45° angle).
This is followed by whether it is anterior or posterior (i.e. “45°LP” if they are facing away from the film).
Then an “O” for oblique combined vertical angulation of both the patient’s head and the beam reflecting the total angle of the beam in comparison to the medial sagittal plane (i.e. “45°LPO30°” if the patient’s head is angled 10° and the beam is angled an additional 20°).
Then finally include whether the second angle is caudal or cranial (i.e. “45°LPO30°↑” if the patient’s head is angled up 10° and the beam is angled down for an additional 20°).
These complicated angle markers should only be necessary if your patient has mobility issues and cannot adopt the necessary postures for you to take the image from an ideal angle, however doctors may request xrays from these odd angles for diagnostic purposes.
Mammography
When performing a mammogram, it is required that images be taken at two to four directions or views.
Cranial-caudal (CC):
This image is taken from the top down. This allows you to see the entire breast, with the fat tissue closest to the pectoral muscle appearing as a dark strip and the nipple in clear view. It would be prudent for you to include a “CC” marker.
Mediolateral-oblique (MLO):
This is taken from the top-down, angled at around 40° to 60°, though 45° is standard. This allows more of the upper-outer portion of the breast to be captured, as well as the armpit.
An “MLO” marker, as well as the specific angle in cases where the standard 45° angle is not used.
Mediolateral (ML):
This is taken from the side of the breast, from the inner side of the breast outwards. It also provides a clear, profile view of the nipple as well as being better at showing pathological changes to the breast.
Clear anatomical side markers should be enough, but if you want to be particularly thorough you can include an “ML” marker.
Latero-medial (LM):
This is taken from the outer side of the breast inwards towards the chest. This gives the best view of the mid-body side of the breast.
Marking LM xrays is the same as ML xrays, just with an “LM” marker.
When placing your xray markers, there are often special markers that indicate the angle of view (for MLO), as well as which specific view it is.
Of course, L and R anatomical side markers are also essential to help differentiate which breast is being xrayed.
When placing markers for mammograms, be sure to follow the general marker placement guidelines.
While most doctors can do with just the side markers, specifying the specific view (MLO, LM, etc), the added information pre-exposure can be useful from a legal standpoint.
Leg alignment
In such instances, the recommendation is to include at least three markers to distinguish between the left and right legs.
Since these types of X-rays often comprise composite images, you should place these markers so that at least one of each of the three markers appears in each component image.
As usual, you should strive to avoid marker overlap with any part of the patient’s anatomy. However, given the large imaging area, tight framing may occur, making it acceptable for markers to overlap with soft tissues (muscle) as long as both the anatomy of interest and the markers remain clearly legible.
Hip and upper femur
About 24 hours after implantation of a prosthetic hip joint, an xray is typical of the prosthesis and cement restrictor to gauge the success of the operation.
In these cases, you should include a skin marker with a bead to highlight the prosthesis. If this has been done in the past, and you are taking an xray of an artificial hip joint, then the standard practice is to include the same kind of skin marker for all future xrays of the prosthesis.
Teeth
In dental xrays, it is absolutely essential that they include the name of the patient as well as the date of the xray.
Medically, the teeth can change a great deal over time, and dated dental xrays are used to track the progress of certain malformations and diseases.
Legally, dental xrays are sometimes used to identify a person if they cannot be identified in any other way, and accurate dating and naming go a long way towards making sure it’s done properly.
Foreign body trauma
In cases where a foreign object is lodged inside the body, a marker may be placed adjacent to the puncture site to help locate it.
This can be a normal skin marker or an arrow/indicator marker. While the bead style skin markers can suffice, an arrow/indicator marker can also be used to show the trajectory of the foreign body upon entry.
Flipping of markers
Some people do and some people don’t. This is one of those matters that seem to be a matter of preference.
However, the best practice, in this case, seems to be that you should flip them so that the characters are always read normally.
This way, they’re recognizable at a glance and have no chance to cause confusion.
It also makes things easier to explain to patients who don’t look at xrays regularly and haven’t had the time to get used to these little quirks of the individual radiologist.
In order to maintain a degree of standardization to minimize errors, it’s best to flip them when switching from AP to PA view, or otherwise orient them in accordance with the positioning of the patient’s overall body position.
If your markers read backwards, there’s the chance that the doctor may place the image on the lightboard upside down, giving them incorrect (and possibly confusing) information.
Cleaning and Care of Xray Markers
One of the more valid arguments against the use of xray markers is the fact that there is a small chance that they can be an avenue for MRSA transmission.
However, that is true of pretty much every object in a hospital.
The best practice is to clean them regularly. Given that most of them are encased in plastic, you can clean them using whatever materials and procedures your facility has for other plastic equipment that is reused and requires regular cleaning.
For the lead letters used in the letter holders, the same method is fine, just be sure to dry them off before putting them away to prevent corrosion.
Murphy’s law of xray
Whatever can go wrong, will go wrong. Keep an eye on your markers and nobody will have to keep an eye on you.
If you’ve lost your R marker, all extremity exams will be R. If you’ve lost your L marker, all exams will be L. If you’ve lost both markers, all extremities will be bilateral.
Also, all-metal clothing artifacts will migrate into the anatomy of interest as you walk to the control panel.
Lastly, measurements will always be given in the least comprehensible way possible, so radiation dosage from xrays will be measured in joules of radiation per kilogram of the recipient.
How to encourage coworkers to start using markers
While the use of xray markers is becoming commonplace, some people just don’t like to use them for personal or professional reasons.
Here are a few ways you can encourage them to start using them if they don’t already.
Stress the importance
Most people learned how to place markers when they were in radiographer school, so they may already know of the importance and simply can’t be bothered every time.
For them, and those that never actually learned why they’re so important, reiterate it for them in simple, easy to understand terms.
You could go droning on about the letter of the law and things like that, but it’s important to remember their motivations for not doing it, and try to flip those into motivation to start or consistently use xray markers on the job.
If they care about the patients, then having non-legally recognizable xrays may mean their insurance will refuse to cover the costs of treatment.
If they’re just there to do a job, remind them that it’s a matter of professionalism, and current and future employers will take this kind of work ethic into consideration when considering new hires and promotions.
If they just really love doing xrays, tell them that initialed markers are a great way to put their name on their work and show everyone they’re proud of what they do.
Sometimes they just don’t want to have to buy their own. In that case, you can share yours, offer to make some for everyone at work (which actually comes out to be a fair bit cheaper than buying them), or maybe appeal to your supervisors to buy some for shared use.
Work to make it a policy
Sometimes people just can’t be reasoned with and you may have to work your way up the chain of command.
If you’re already a supervisor, then it should be a fairly simple matter of just making it internal policy.
If you’re going to go this route and most people don’t already own markers of their own, offer to get a set for each xray room you have that everyone can share.
If you’re not the one in charge, then you just have to convince the one that is. There’s a good chance they already know the reasons, but if not it’s a simple conversation.
They’re the ones responsible for ensuring the quality and validity of xrays put out by their radiographers.
Doctors within the hospital would likely be willing to weigh in on the matter, as it’s a small thing that makes their daily lives a little easier.
If you’re in an independent facility, then it would be a great way to establish a reputation for quality and professionalism, which will likely result in more doctors sending patients to your facility for imaging.
Remind them of the costs
Aside from the fact that, if a patient decides to sue, improperly marked xrays cannot be used in the defense of your facility or hospital, you have to consider the ramifications come inspection time.
Radiography sites deal with potentially dangerous radiation, they intentionally apply it to living people, and those living people are often sick or injured and need it to get better.
Most people understand that xrays are a big deal, and the government certainly agrees. As a result, xray facilities undergo regular inspections, and the xrays themselves are often randomly checked to ensure compliance.
While not the case in every corner of the world, more and more governments are putting laws on the books that require thorough, pre-exposure marking in all xrays to ensure that there are minimal mistakes further down the line.
It’s also a matter of ensuring that medical records are not just accurate, but cannot be misinterpreted later down the line.
Failed inspections can mean fines, and excessive infractions often come with more and more fines.
Failure to follow procedures about marking xrays can quickly become costly to the facility where you work, making you costly to the facility where you work.
Consistency in records and documentation when it comes to medical procedures is vitally important.
If your patient moves away, when they show those records to their doctor and there is any kind of ambiguity, they may not be in a position to just come over or give you a call so you can clarify.
There’s also a good chance you do dozens, possibly hundreds of xrays per day. Can you remember every xray you’ve performed?
Do you remember the context of every single one? What about from a month ago? A year ago? Five years?
By being orderly and methodical, and using your markers properly, you can prevent these kinds of problems further down the line, not just for yourself but everyone that is currently and will be involved in your patient’s lives.
Progress in the field of xray Markers
Lead xray markers have come a long way in the nearly 20 years since their invention. Starting with the simple anatomical side markers, they’ve grown and evolved to enable radiographers to incorporate progressively more specific and useful details to their xrays.
Additionally, they’ve diversified to better serve diagnosticians, and even include disposable markers for sanitary reasons.
Types of xray markers
There are six main types of markers that radiographers should be aware of. While there are more I’ll cover further down, these are the main categories to be aware of.
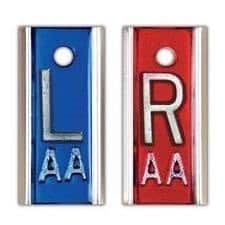
Classic elite xray markers
The more modern markers are sometimes referred to as “elite-style” to differentiate them from the plain, classic markers.
These use industrial processes to mass-produce the letters, resulting in higher density lead with fewer impurities, as well as harder plastics.
Also, most manufacturers offer the ability to include your initials (given when you order them) and even copper filters (see below) for a little extra.
Modern manufacturers usually color code their markers (blue for left, red for right and yellow for medial) as well, making them slightly easier to use.
Over the years, small ideas and quality of life improvements have been added to the standard array of xray markers that are available on the market, and there is a huge array that are available for purchase.
Clip xray markers
When using a portable imaging system, these clip markers are much easier to use.
Designed to simply slip over the top edge of the cassette, they’re much easier to affix than the original markers, and may not even require any kind of adhesive to keep them positioned properly.
These ones come as a U-shaped piece of radiopaque metal (usually stainless steel) with the lettering and initials appearing as a cutout.
Some can even be bought with the median portion being made of spring steel to hold the clip in place without any need for assisting materials.
You can also find them in single and double-sided versions.
Double-sided clips will have L and R on each end of the clip, and you simply need to make sure the letter you want to include is on the front of the cassette.
These are great for being able to quickly and easily attach them without the need for adhesives or tape, but they aren’t always appropriate. In cases where the anatomy of interest is very small, the collimation of your beam will likely be too far away from the edges of the cassette for these kinds of markers to be visible.
Wafer-thin xray markers
In the handful of cases where the space to put your markers is too thin for your typical 4.8 mm (3/16”) markers, you can find them at around 2 mm (<3/32”) thick, which is thin enough to fit on any bucky.
In the cases of many digital xray machines, the clearance tends to be slightly less than typical xray machines, for whatever reason.
If you find yourself working with these, investing in wafer-thin markers is a must, even for just the anatomical side markers.
Copper backed xray markers
When performing xrays with a higher kilovoltage peak (KVP), you need a filter to block out lower energy radiation, producing a clearer image of the letters or numbers in the marker.
Though they can be made with aluminum, copper tends to work better because the radiation can burn out the aluminum over time, which reduces its effectiveness as a filter.
Additionally, copper, having a higher atomic number, is inherently more dense than aluminum and therefore more effective at filtering out low energy xrays.
Copper backed markers generally have a thin rectangular sheet of copper just large enough to cover the entirety of all characters included in the marker.
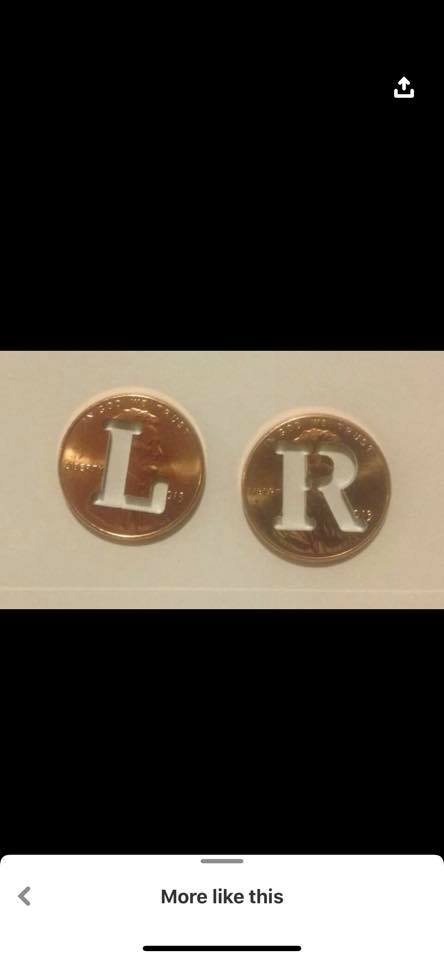
Before you were able to buy these from xray marker manufacturers, some people would stick a penny underneath their markers when they placed them to serve as a filter.
You can still do that if you’re not willing to shell out the extra for the copper backing (usually around $10).
Nipple/Skin xray markers
Also called skin dots, nipple markers are for, you guessed it, the nipples. They’re usually a strip of plastic with a small lead bead set into them to help identify especially large or dense shadows created by nipples in chest xrays and mammograms.
The plastic strip is often a disposable, skin safe adhesive, and typically use a minuscule amount of lead so that they can be thrown away without incurring significant cost.
When purchasing these, they often come individually wrapped like bandaids, with a soft adhesive that’s strong enough to keep them in place but can be easily removed after the xray is done.
They also come in a broad array of shapes and designs to ensure that they have sufficient purchase.
Though most of them are simple round pieces, some have wings, are oblong, or in other less conventional shapes to suit specific situations when tagging directly on the skin of a patient.
They also come with a variety of different lead dot sizes, ranging from 1 to 5 mm in diameter, they can actually be used for a variety of diagnostic purposes, though they’re usually used on nipples.
The smaller dots are used for normal chest xrays and mammograms, and in other cases to highlight dark spots that are visible from the outside but might interfere with the clarity of the image, while the 3-5 mm dots are typically used for oncology.
Neonatal xray markers
These markers are not unlike typical xray markers, except because the subjects of these xrays are so small, the markers themselves have to be smaller as well to scale with the images.
These are extremely important, as infants are far less resilient and, not wanting to over-expose a developing infant to radiation, xrays are often only done when the situation is dire.
In two cases back in the early 2000s, improperly marked xrays resulted in thoracotomies (an incision in the side to allow air, blood, and fluid to drain from the chest cavity) on the wrong side of the body in infants with pneumothorax (a collapsed lung), resulting in one of their deaths.
These markers still need to be clearly legible at a glance, so having a set of neonatal markers, even just anatomical side markers (with or without initials) can be very important.
Normal-sized markers may not be able to fit clearly in the frame, resulting in their exclusion.
This is especially the case when they need to take images of smaller features of the anatomy, like facial bones and sinus, skull, pelvic bones, and internal organs. Given how small infants are on average, you will likely not be able to fit standard sized markers into the frame without occluding some part of the anatomy.
When doctors are willing to irradiate an infant to see what’s going on inside, it’s usually life or death, and this tiny adjustment in the tools used for the procedure can be life-saving.
Other Marking Tools
Aside from the six main types of markers, there are other pieces of equipment you should know about and may want to invest in.
Lead wire skin xray markers
These highly case-specific markers consist of a series of adhesive skin marker strips interconnected with thin, coated lead wire. They serve to highlight scars dense enough to cast shadows on your X-rays.
An alternate version, designed as nipple markers, resembles typical nipple markers but features a lead wire ring instead of a single dot.
These markers underscore the nipple area during chest X-rays and prevent it from obscuring potential observations within the chest beneath the nipples.
Lead character holder
These handy little trays with long slots allow you to fill in your own words. Whether it’s for a lateral decubitus or weight-bearing xray, you can include the patient’s name and ID number or any other information you need to include in your xrays.
These versatile little trays let you slot in lead letters, numbers and symbols like a theater marquee.
You can also buy a collection of unmounted lead characters, as well as a nice little box with numerous little cubbies to organize them and make your life a little easier.
You’ll find that these can be extremely useful since you can slot in the date, time of the xray, patient identification, as well as other complex markers.
Their versatility can save you from a life as an xray marker hoarder, and save you the time it would take to paw through your collection for just the right one for the specific xray you need to do.
Ruler markers
These are a great way to mark the actual size of a body part without having direct access to it.
Despite varying sizes and qualities, possessing one or two of these markers proves useful in many minor situations like measuring foreign bodies or bone lengths, greatly benefiting diagnosticians.
Time markers
The name says it all. These small square markers have a ring of numbers to serve as the face of a clock, then a small circle with an arrow or line that you can rotate to indicate the time.
Usually, they’re used in pairs one indicating the hour and another for the minutes. While you could just use a character holder, these are much faster and easier to use.
Xray Marker adhesives
These simple little disposable plastic sponge-like strips can be attached to the back of your markers, allowing you to easily mount your markers to the cassette, then remove them just as easily.
Why you should use Colortrieve xray markers
If you’re looking for a reliable, well-rated seller of xray markers for the various kinds of markers I’ve mentioned above, you’ll want to look at Colortrieve.
It’s a certified veteran-owned business and offers competitive prices and good quality for all of the markers you might need.
Everything you need in one place:
- Classic elite: They have aluminum backed classic elite markers, with red/blue color coding and custom initials.
- Clip: They have single and double-sided stainless steel clip markers, with and without custom initials and in a variety of styles.
- Wafer-thin: They have a full range of wafer-thin markers, including initialed side markers, side markers with arrows with or without initials, ruler markers, and word markers (can accommodate over 8 characters), though you’ll have to order from their website for the full range of options.
- Copper backed: They have copper backed side markers with and without initials.
- Skin: Skin markers, such as the ones used for the nipples and for scars, can be purchased from them in a wide variety of styles, shapes and colorful designs. The nipple markers also have lead beads ranging from 1.0 to 5.0 mm.
- Mammography set: You can even purchase a complete mammography set with every marker you’ll need, complete with a well organized, wall-mountable marker board with three options for how they’re held in the board.
- Neonatal: They have initialed neonatal side markers.
- Character holder: They have several different sizes of the tray, depending on how much text you need to include, sets of unmounted characters, and character organizers.
- Ruler: They have several to choose from, including a 1.15-meter version, with high-density lead numbers and a plastic body, and smaller initialed side markers with 3 centimeters worth of notches.
- Time: You can get the hour markers (with ¼, ½, 1, 2, 3, 6, 12, 24 and 48 hour marks), minute markers (with 0 through 5, 8, 10, 15, 30 and 45 minutes),and time elapsed markers (with 15, 30, 45 and 60 minutes, as well as 6, 12, 18 and 24 hours).
Conclusions
Lead xray markers are an essential tool for radiographers to ensure that their xrays are clear, easy to read, easier to explain to non-medical personnel and legally admissible in legal cases.
They serve as concrete, easily legible additions to xrays that add valuable information about the patient directly into the xray without need to muddle the clarity and quality of the xray with notes directly on the film or on a separate document.
They can be used to highlight important aspects of the anatomy for diagnosticians, and clarify the purpose of that specific image, preventing minor slips that can lead to costly or dangerous mistakes down the line.
These humble leaden letters allow you do perform your duties as a radiologist to a much higher standard of quality.
The modern array of markers enables radiographers to refine their images to a much greater degree, working together with diagnosticians to provide more clear, concise and information-dense images.
If you’re planning to begin using xray markers, or have an older set that needs replacing, Colortrieve has what you need, when you need it and with plenty of options to suit your personal tastes and professional preferences.
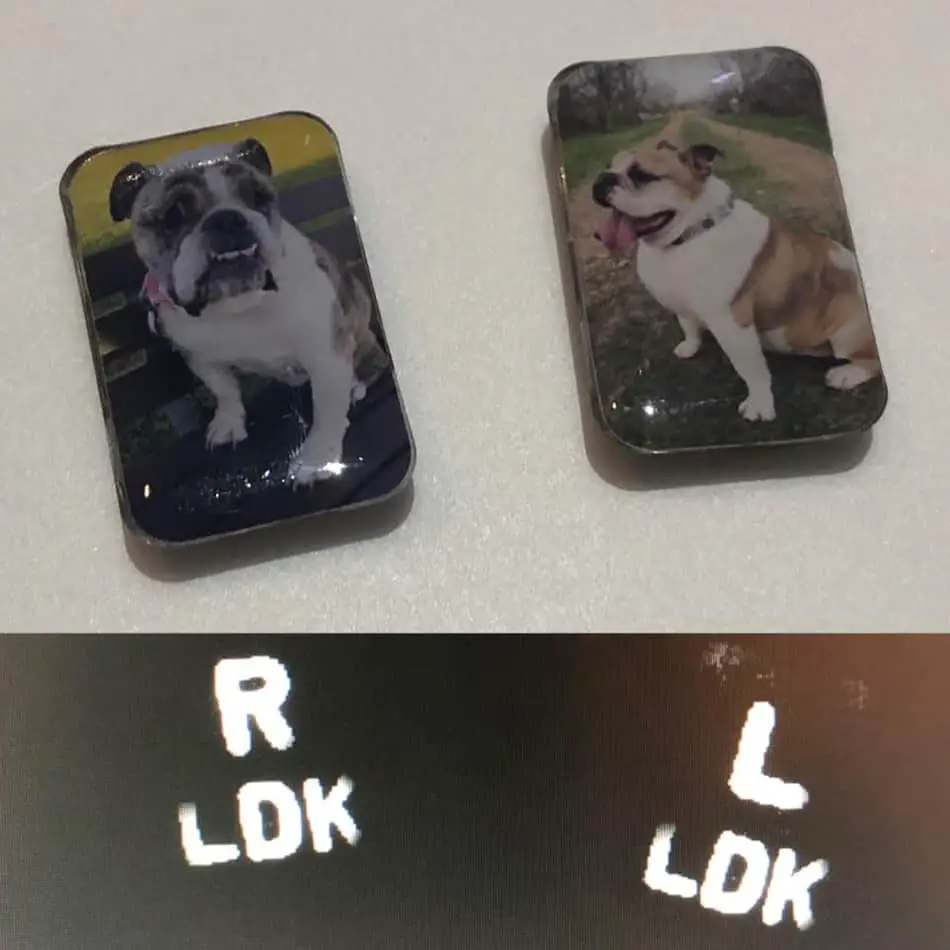
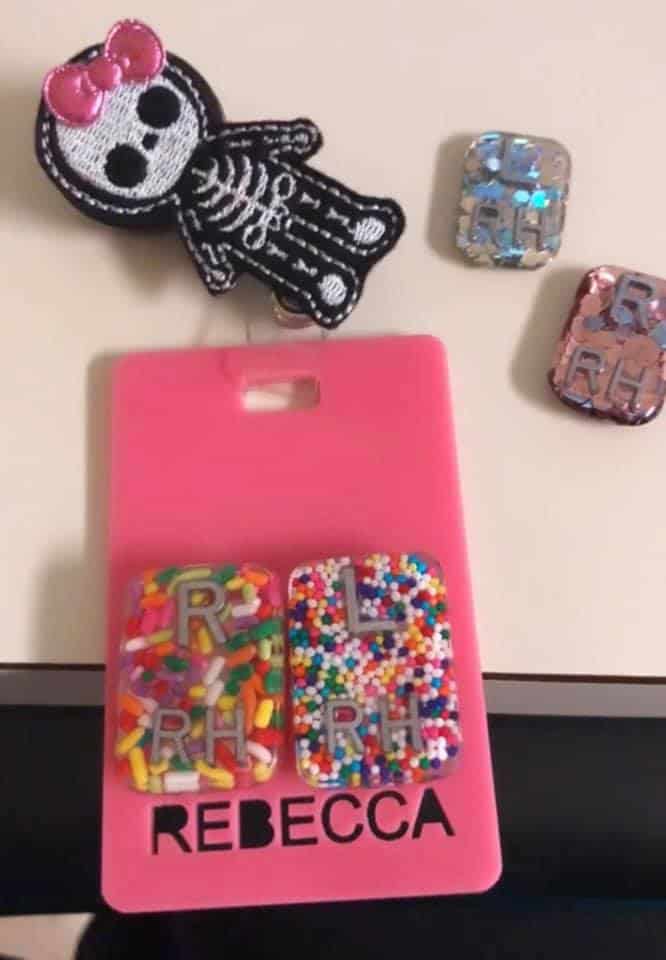
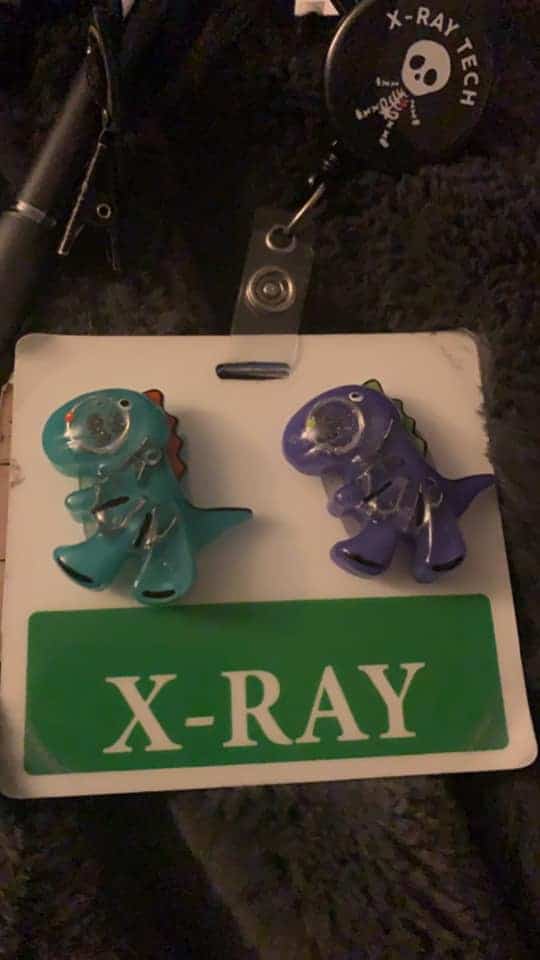
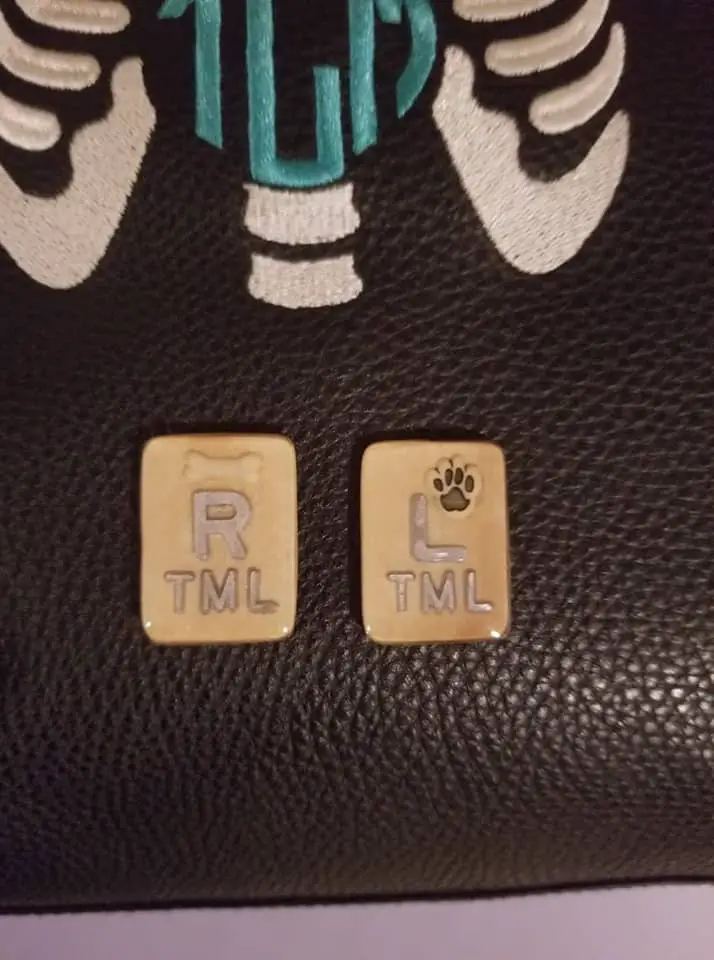
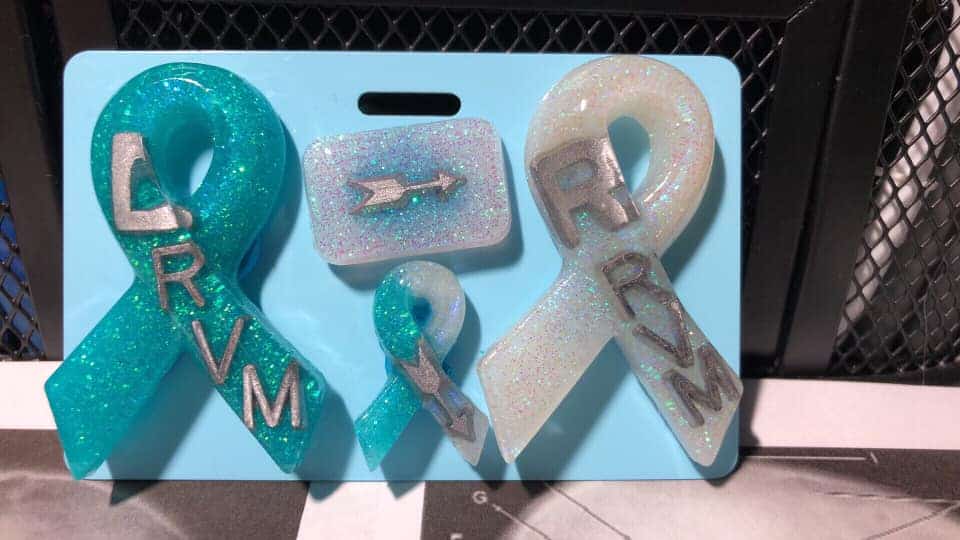
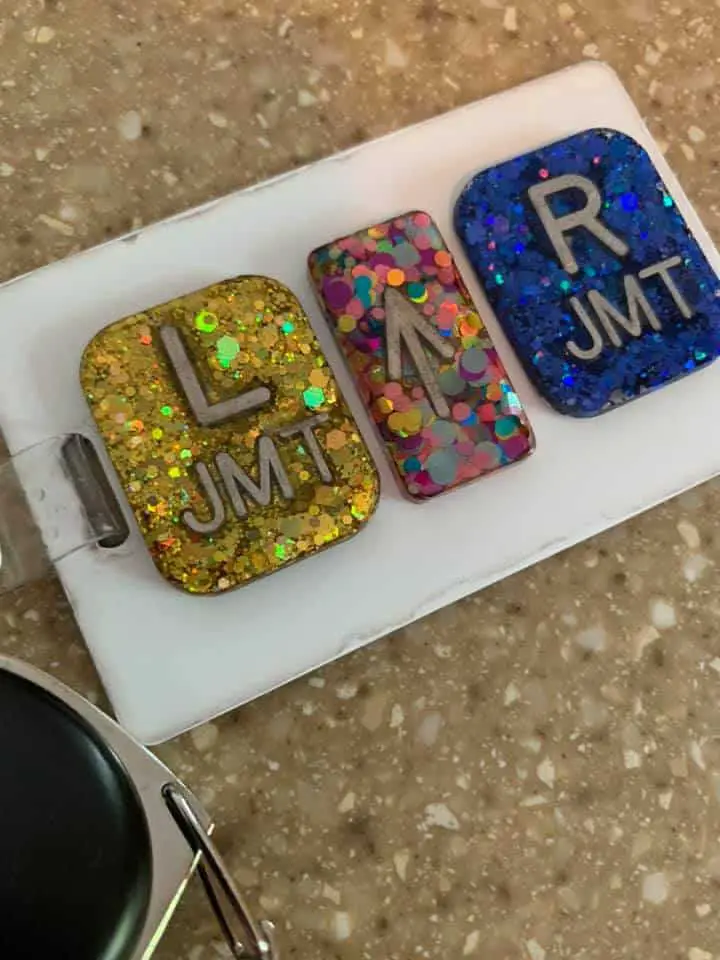
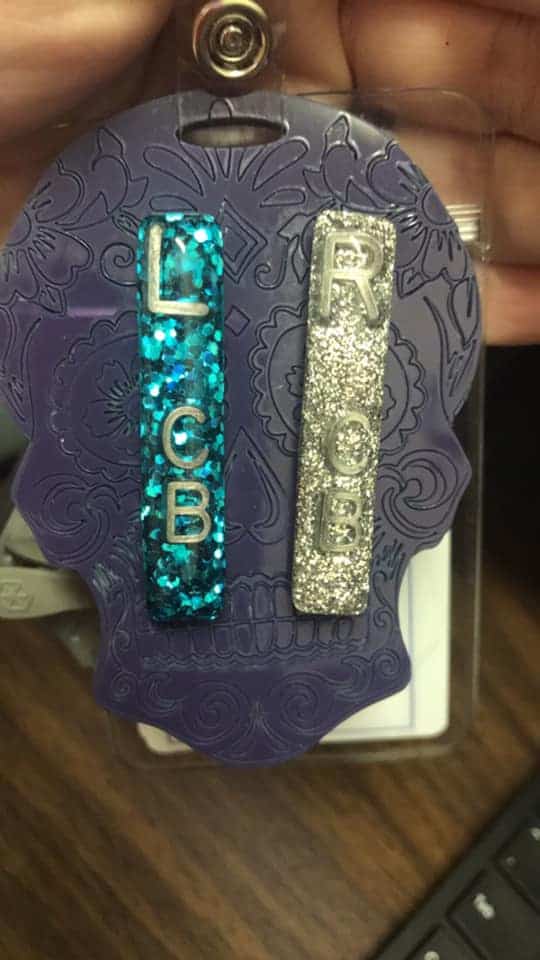
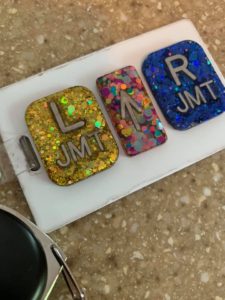
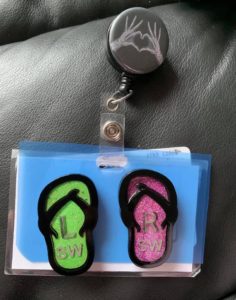
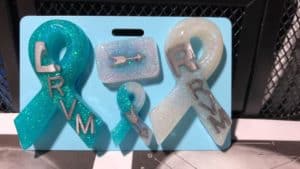
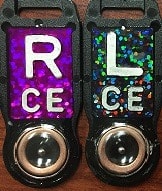
When I requested submissions of personal markers from Rad Techs in a popular Facebook group, I received some fantastic images: